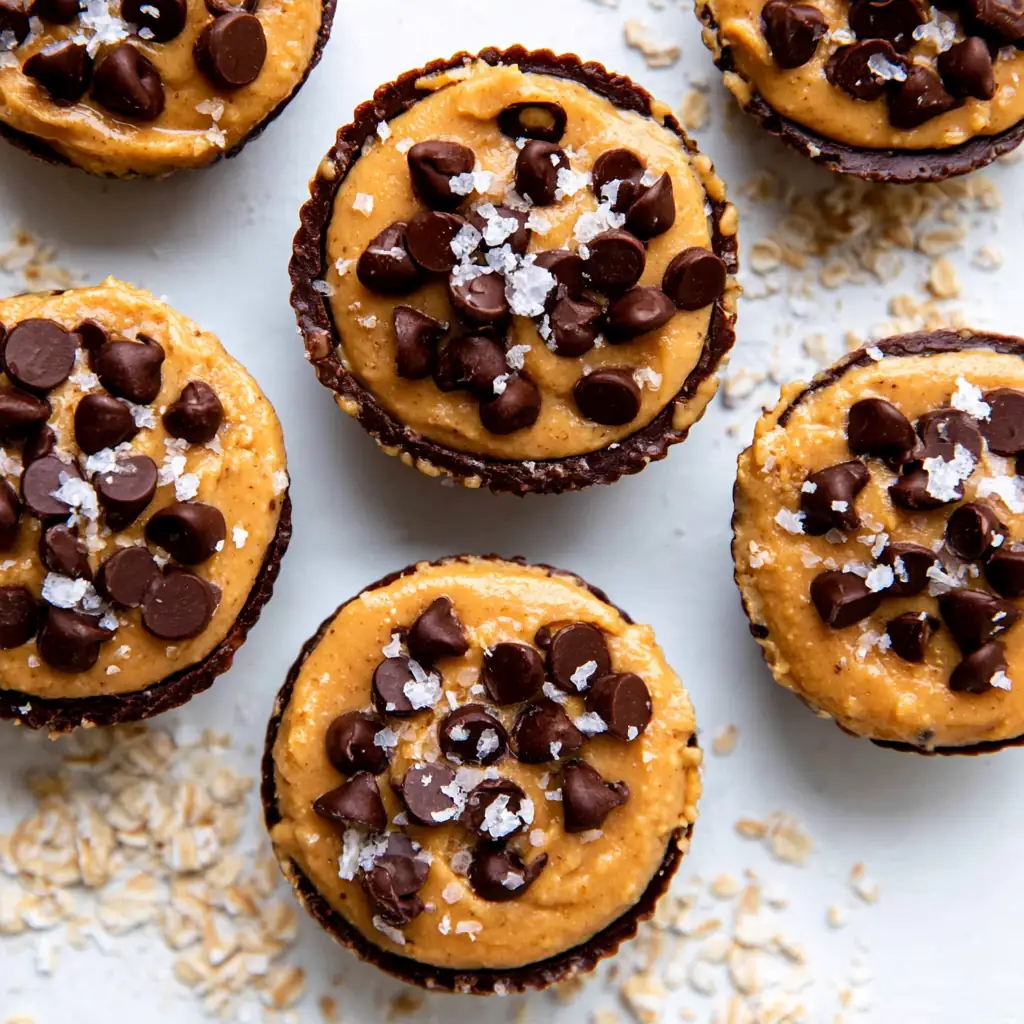
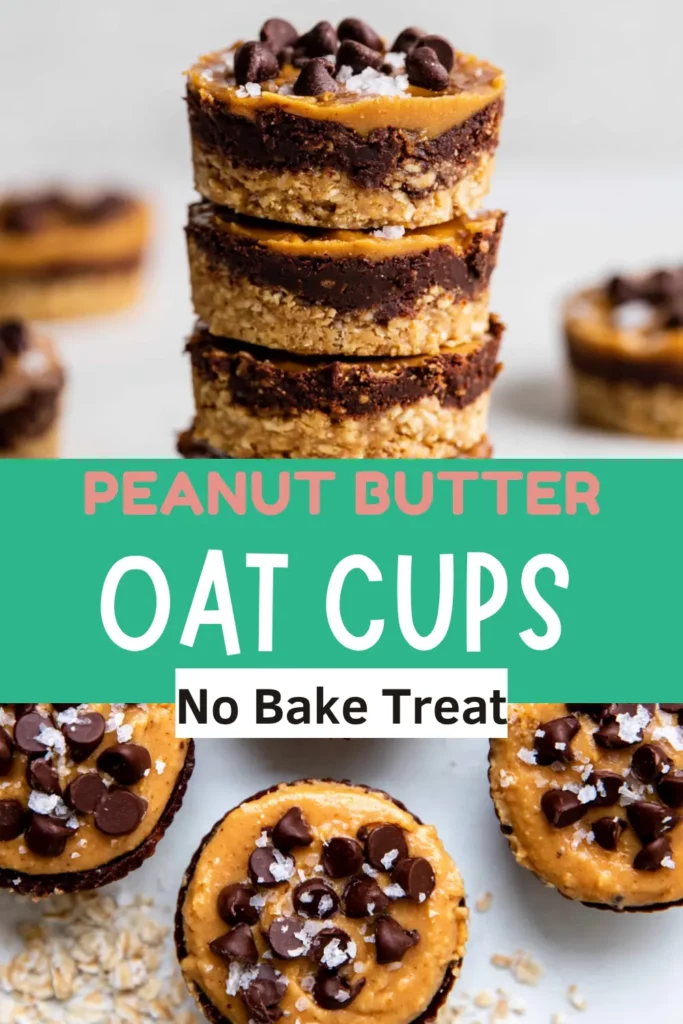
Peanut Butter Oat Cups bring together chewy oats, creamy peanut butter, chopped peanuts, and smooth chocolate in one simple no-bake treat. Because they set in the freezer, you can make them without turning on the oven, which makes them perfect for busy mornings, after-school snacks, or easy meal prep. These cups taste rich, nutty, and chocolatey, yet they use familiar pantry ingredients. Plus, each layer adds something special: a hearty oat base, a firm chocolate middle, and a creamy peanut butter topping. Once chilled, they become a sweet snack you can grab straight from the freezer.
Story
Peanut Butter Oat Cups became one of my favorite make-ahead snacks because they feel like a treat but still offer the hearty bite of oats and peanuts. I like making Peanut Butter Oat Cups on Sunday afternoon, especially when the week ahead looks busy and I need something quick to pull from the freezer. The oat layer presses into the muffin cups easily, while the chocolate layer adds that classic candy-cup feel. Then, the peanut butter topping makes each bite creamy and satisfying. Unlike baked oatmeal cups, Peanut Butter Oat Cups stay cool, dense, and chewy, so they work well for warm days, lunch boxes with an ice pack, or a quick sweet bite after dinner. Also, because this recipe makes 12 servings, Peanut Butter Oat Cups give you a ready-to-go snack stash with very little cleanup. If you love Healthy Peanut Butter Snacks, these cups fit right into your routine.
Ingredients
For the oat layer, use 2 cups quick-cooking oats, 1/2 cup honey, 1/3 cup all-natural creamy peanut butter, 1/3 cup chopped peanuts, and 1 to 2 teaspoons water only if the mixture feels dry. For the chocolate layer, use 6 ounces chopped dark chocolate and 2 teaspoons coconut oil. For the peanut butter layer, use 1/2 cup all-natural creamy peanut butter, 1 teaspoon coconut oil, and 1/4 cup mini chocolate chips. These simple ingredients create a chewy base, a glossy chocolate center, and a smooth peanut butter finish, so every cup tastes balanced. For the best texture, choose quick-cooking oats instead of rolled oats, because quick oats soften better without baking. This recipe also works well for anyone who likes Fit Foodie Finds Snacks, Healthy Oat Snacks, and Peanut Butter Breakfast Cups.
Step-by-Step Instructions
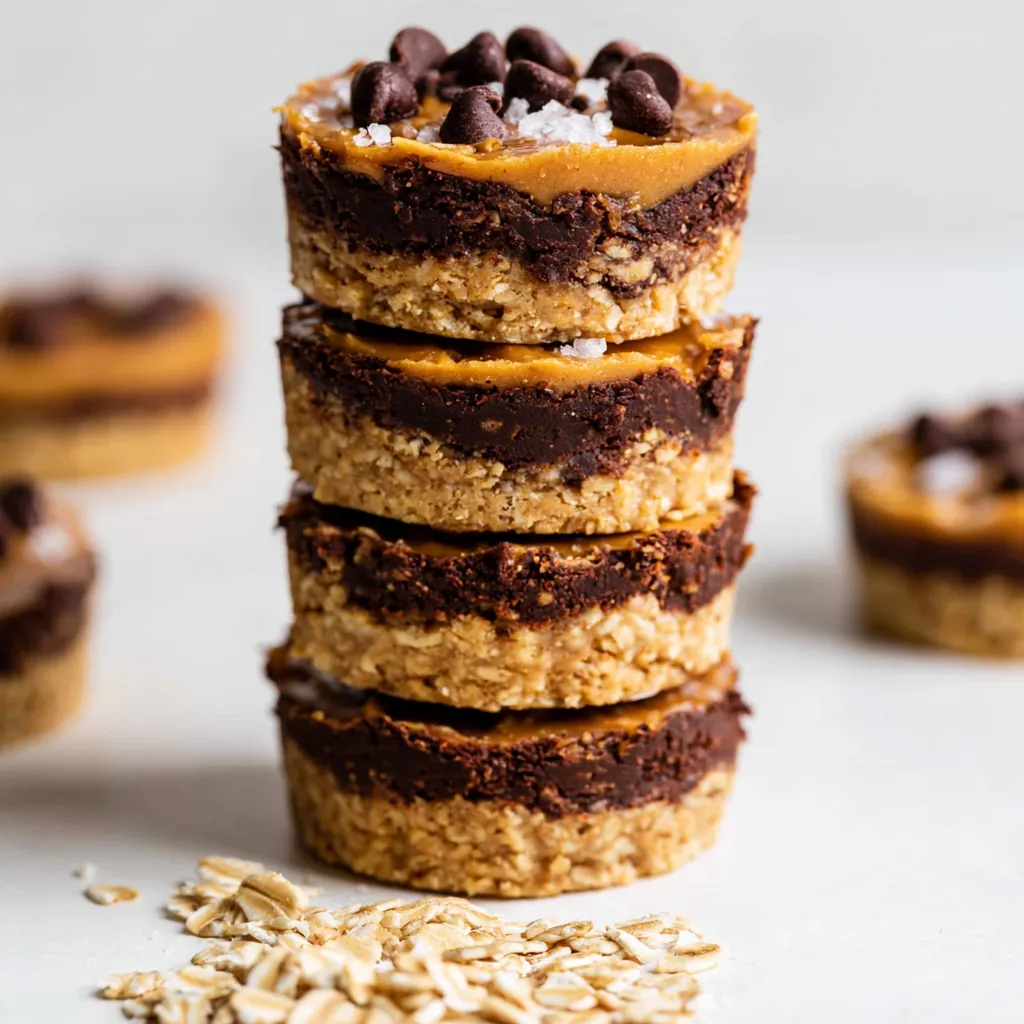
These Peanut Butter Oat Cups come together in three easy layers, and each layer needs only a few minutes of hands-on work. First, line a metal muffin pan with paper liners, or use a silicone muffin pan without liners. Next, stir the oat layer together until the oats look evenly coated and sticky. Then, press the oat mixture firmly into each muffin cup, because a packed base holds its shape better after freezing. After that, melt the chocolate with coconut oil in short microwave bursts, spoon it over the oat layer, and chill it briefly. Finally, warm the peanut butter topping with coconut oil, spoon it over the firm chocolate, scatter mini chocolate chips on top, and freeze the cups until set.
Preparing the Ingredients
Start by measuring all ingredients before you begin, because the layers move quickly once the chocolate melts. Chop the dark chocolate into small, even pieces so it melts smoothly with the coconut oil. Then, stir the quick-cooking oats, honey, creamy peanut butter, and chopped peanuts in a medium bowl until the mixture holds together when pressed. If the oats still look loose or crumbly, add 1 teaspoon of water, stir again, and add the second teaspoon only if needed. After that, place about 2 tablespoons of the oat mixture into each muffin cup. Press each portion firmly with the back of a spoon or clean fingers, since a compact oat layer gives the cups a neat shape.
Cooking Instructions
Although this recipe needs no oven, the microwave helps melt the chocolate and peanut butter layers. Add the chopped dark chocolate and 2 teaspoons coconut oil to a microwave-safe bowl, then heat in 20-second increments, stirring well after each round, until smooth. Spoon about 2 teaspoons of melted chocolate over each oat base, then gently swirl the pan so the chocolate spreads across the top. Place the pan in the freezer for 5 minutes. Next, microwave 1/2 cup peanut butter with 1 teaspoon coconut oil for about 15 seconds, then stir until creamy. Spoon 2 teaspoons over each chocolate layer, swirl again, sprinkle with mini chocolate chips, and freeze for 30 to 60 minutes until firm.
Tips for Perfect Results
For the best Peanut Butter Oat Cups, focus on texture, layering, and chilling time. Quick-cooking oats work best because they absorb the honey and peanut butter more evenly than old-fashioned oats. Also, natural creamy peanut butter gives the oat layer and topping a smooth, nutty flavor, but you should stir the jar well before measuring. If your peanut butter feels very runny, the cups may need extra freezer time. Meanwhile, coconut oil helps the chocolate and peanut butter layers spread easily and firm up once cold. Finally, use a silicone muffin pan when possible, because it makes the cups easier to remove without cracking the chocolate.
Common Mistakes to Avoid
Do not use thick rolled oats for this version, because they can taste too tough without baking. Also, avoid rushing the freezer time. If you remove the cups too early, the layers may smear or separate when you transfer them to storage. Another common mistake involves adding too much water to the oat layer. Add it slowly, because the mixture should feel sticky, not wet. Additionally, do not overheat the chocolate. Short microwave bursts with stirring keep the chocolate smooth and prevent scorching. Finally, press the oat base firmly into each cup. A loose base can crumble when you bite into the frozen snack.
Pro Tips for Better Flavor
Use dark chocolate for a bold flavor that balances the sweetness of the honey and peanut butter. However, if you prefer a sweeter dessert-style cup, milk chocolate works well too. For extra crunch, toast the chopped peanuts briefly in a dry skillet, then cool them before mixing them into the oats. A small pinch of flaky salt on top also makes the chocolate taste richer and the peanut butter flavor stronger. Additionally, you can stir a splash of vanilla into the oat layer for a warmer flavor. For a cleaner look, tap the muffin pan gently on the counter after each layer so the tops settle smoothly.
Serving and Storage
Peanut Butter Oat Cups taste best cold, straight from the freezer or after a few minutes at room temperature. Because the layers contain coconut oil and natural peanut butter, they soften as they sit, so serve them chilled for the neatest texture. These cups work well as a small dessert, a lunchbox treat with proper cooling, or a quick snack after a workout. They also pair nicely with coffee, iced latte, cold milk, or sliced fruit. Since the recipe makes 12 cups, you can keep a batch ready for the week and pull out only what you need.
How to Serve
Serve Peanut Butter Oat Cups frozen for a firm bite or let them rest at room temperature for 3 to 5 minutes for a softer, creamier texture. For breakfast, pair one cup with Greek yogurt and berries for a more filling plate. For dessert, serve a cup with sliced banana or a small drizzle of melted chocolate. You can also cut each cup into quarters and serve them as bite-size treats on a snack board. Because they taste rich, one cup usually satisfies a sweet craving without needing a large portion. Keep napkins nearby, since the peanut butter layer softens faster in a warm kitchen.
How to Store Leftovers
After the Peanut Butter Oat Cups set completely, remove them from the muffin pan and place them in a freezer-safe bag or airtight container. Add parchment paper between layers if you stack them, because this keeps the chocolate tops neat. Store the cups in the freezer for up to 2 months for the best taste and texture. You can also keep a few in the refrigerator for several days, although they will taste softer and less firm. When ready to eat, take one from the freezer and let it sit briefly before biting. Do not microwave the finished cups, because the layers will melt.
Conclusion
Peanut Butter Oat Cups make a simple, satisfying no-bake snack with a chewy oat base, a smooth chocolate layer, and a creamy peanut butter topping. They come together quickly, chill beautifully, and store well in the freezer, so they fit busy weeks and sweet cravings alike. Try them once, and you may want to keep a batch ready all the time.
Discover more delicious recipes by following me on Facebook and Pinterest.
Frequently Asked Questions
Can I use rolled oats instead of quick-cooking oats?
Quick-cooking oats work best for Peanut Butter Oat Cups because they soften and bind more easily with honey and peanut butter. Rolled oats can taste too firm in a no-bake recipe, so they may make the oat layer chewy in a tough way rather than tender. If rolled oats are all you have, pulse them briefly in a food processor before using them.
Can I make Peanut Butter Oat Cups dairy-free?
Yes, you can make these cups dairy-free by choosing dairy-free dark chocolate and dairy-free mini chocolate chips. The oats, honey, peanut butter, peanuts, and coconut oil usually contain no dairy, but always check labels. For a vegan version, swap honey with maple syrup, though the oat layer may taste slightly less sticky.
Why do my oat cups fall apart?
Your oat cups may fall apart if the oat layer lacks enough moisture or if you did not press it firmly into the muffin cups. Stir the oat mixture until it clumps together, then add 1 to 2 teaspoons of water only as needed. Also, freeze the cups until fully firm before removing them from the pan.
Peanut Butter Oat Cups
- Total Time: 35 minutes
- Yield: 12 oat cups 1x
Description
These no-bake Peanut Butter Oat Cups feature a chewy oat and peanut base, a smooth dark chocolate middle, and a creamy peanut butter topping with mini chocolate chips.
Ingredients
- 2 cups quick-cooking oats
- 1/2 cup honey
- 1/3 cup all-natural creamy peanut butter, for oat layer
- 1/3 cup chopped peanuts
- 1 to 2 teaspoons water, optional
- 6 ounces dark chocolate, chopped
- 2 teaspoons coconut oil, for chocolate layer
- 1/2 cup all-natural creamy peanut butter, for topping
- 1 teaspoon coconut oil, for peanut butter layer
- 1/4 cup mini chocolate chips
Instructions
- Line a metal muffin pan with paper liners, or use a silicone muffin pan without liners.
- Add quick-cooking oats, honey, 1/3 cup peanut butter, and chopped peanuts to a bowl. Stir until fully combined.
- If the oat mixture feels dry, stir in 1 to 2 teaspoons water.
- Scoop about 2 tablespoons of the oat mixture into each muffin cup and press firmly into the bottom.
- Add chopped dark chocolate and 2 teaspoons coconut oil to a microwave-safe bowl.
- Microwave in 20-second increments, stirring after each increment, until the chocolate melts smoothly.
- Spoon about 2 teaspoons melted chocolate over each oat layer. Swirl the pan gently to spread the chocolate.
- Place the muffin pan in the freezer for 5 minutes.
- Add 1/2 cup peanut butter and 1 teaspoon coconut oil to a separate microwave-safe bowl. Microwave for 15 seconds, then stir until smooth.
- Spoon about 2 teaspoons of the peanut butter mixture over each chocolate layer. Swirl the pan gently to even the tops.
- Sprinkle mini chocolate chips over each cup.
- Freeze the cups for 30 to 60 minutes, or until fully firm.
- Remove the oat cups from the pan and store them in a freezer-safe bag or airtight container in the freezer.
Notes
- Use quick-cooking oats for the best no-bake texture.
- Do not use thick rolled oats unless you pulse them briefly first.
- Milk chocolate can replace dark chocolate for a sweeter cup.
- Let the cups set fully before removing them from the muffin pan.
- Store in the freezer and let a cup sit for a few minutes before eating if you prefer a softer bite.
- Prep Time: 35 minutes
- Category: Snack
- Method: No-Bake
- Cuisine: American
Nutrition
- Serving Size: 1 oat cup
- Calories: 311
- Sugar: 19
- Sodium: 55
- Fat: 20
- Saturated Fat: 8
- Unsaturated Fat: 11
- Trans Fat: 0
- Carbohydrates: 30
- Fiber: 4
- Protein: 7
- Cholesterol: 0