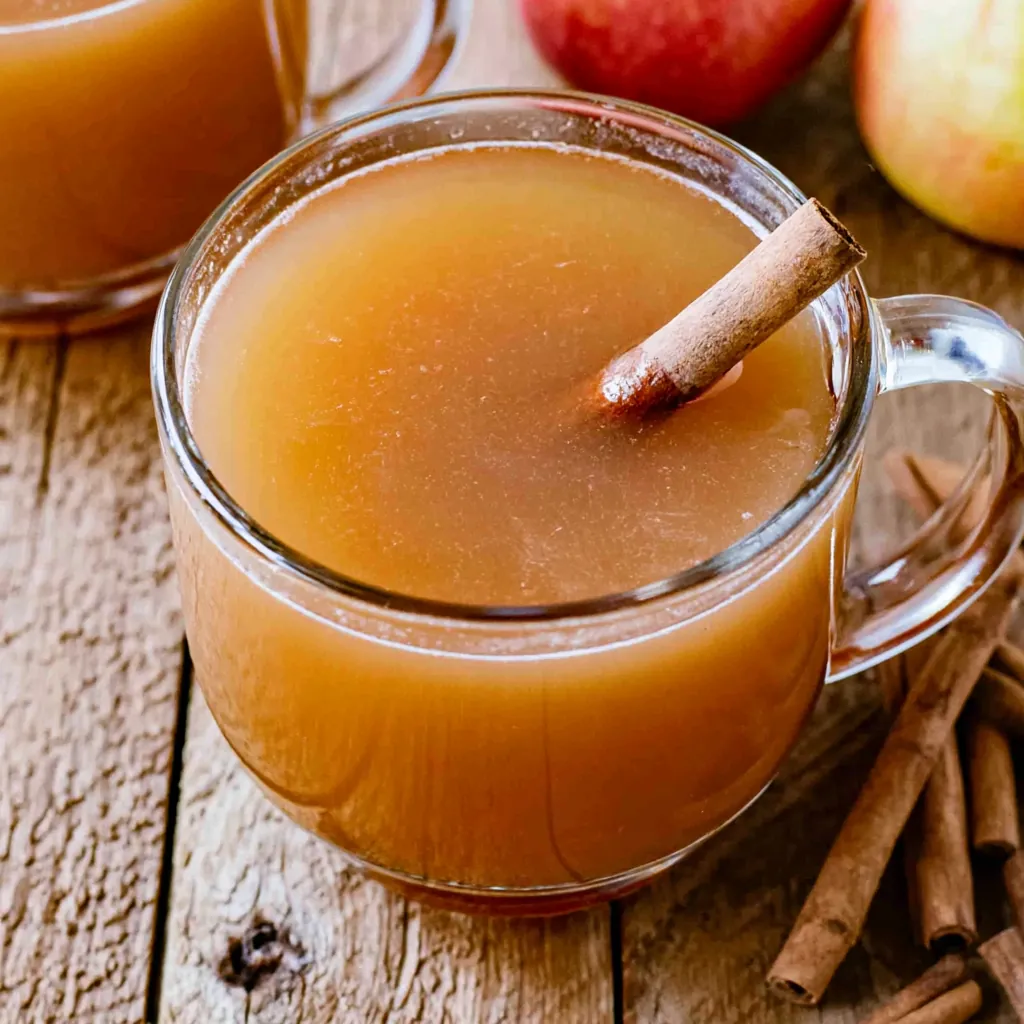
Homemade Apple Cider fills your kitchen with the warm aroma of apples, cinnamon, brown sugar, and allspice. This easy stovetop recipe starts with fresh apples instead of bottled juice, so every mug tastes crisp, fruity, and comforting. Because it contains no alcohol, the whole family can enjoy it during fall gatherings, Thanksgiving dinner, Christmas morning, or a quiet evening at home. Serve it steaming hot with a cinnamon stick, or chill it for a refreshing seasonal drink. Either way, this homemade cider brings orchard flavor to your table with only four main ingredients and a little patience.
The Story Behind This Homemade Apple Cider
I love recipes that make the kitchen feel welcoming long before the food reaches the table, and Homemade Apple Cider does exactly that. As the apples slowly cook, their natural juices blend with cinnamon, allspice, and brown sugar. Soon, the whole house smells like an autumn orchard. This recipe also works well when you have extra apples after apple picking or farmers market shopping. Rather than peeling and coring every apple, you simply quarter the fruit and place it in a stockpot. The long cooking time draws flavor from the flesh, skins, and cores. Then, careful straining creates a smooth nonalcoholic holiday drink with rich color and balanced sweetness. Homemade Apple Cider takes several hours, but most of that time requires little attention. Therefore, you can prepare dinner, bake cookies, or relax while the pot gently simmers. I also like that Homemade Apple Cider tastes wonderful both hot and cold. Serve it warm for a cozy fall beverage, or refrigerate it for the next day.
Ingredients
- 10 medium apples, quartered
- ½ cup packed light brown sugar, about 100 grams
- 4 cinnamon sticks, or 2 teaspoons ground cinnamon
- 1 tablespoon ground allspice
- Water, enough to cover the submerged apples by 2 inches
Step-by-Step Instructions
Follow these steps in order, and give the apples enough time to soften and release their flavor. A large stockpot works best because the apples float at first and need plenty of room. Keep extra water nearby while filling the pot, but avoid adding far more than needed. Too much water can weaken the apple flavor. During the first hour, leave the pot uncovered so some liquid can cook away. Then cover the pot and lower the heat for the remaining simmer. Finally, strain the cider twice for a smoother drink with less pulp and spice sediment.
Preparing the Ingredients
Rinse the apples under cool running water and dry them with a clean towel. Cut each apple into quarters, but leave the peels, seeds, stems, and cores in place because they add flavor during cooking. For a balanced cider, use a mixture of sweet and tart apples. Honeycrisp, Fuji, Gala, Golden Delicious, Granny Smith, and Pink Lady all work well. Place the quartered apples in an 8-quart stockpot. Press the apples down gently, then pour in enough water to rise about 2 inches above the submerged fruit. Since apples naturally float, judge the water level while holding them beneath the surface. Add the packed brown sugar, cinnamon sticks, and ground allspice. Stir carefully until the sugar begins dissolving into the water.
Cooking Instructions
Place the stockpot over medium-high heat and bring the mixture to a strong boil. Once the liquid boils, leave the pot uncovered and cook it for 1 hour. Stir occasionally, and press the softening apples beneath the liquid with a wooden spoon. After the first hour, cover the pot, reduce the heat to low, and simmer for 2 more hours. The apples should become very soft, and the liquid should develop a deep amber color. Remove the pot from the heat and let the mixture cool for 15 to 20 minutes. Line a large bowl with cheesecloth, or place a fine-mesh strainer over the bowl. Carefully ladle the mixture into the strainer. Press the solids gently to release their liquid, but avoid forcing too much pulp through. Discard the solids, rinse the cheesecloth if needed, and strain the cider a second time. Serve the finished hot apple cider immediately, or cool and refrigerate it.
Tips for Perfect Results
The flavor of fresh cider depends heavily on the apples, the water level, and the cooking temperature. Choose firm apples without bruised or spoiled areas. A mixture of varieties produces a fuller taste because sweet apples add natural sugar while tart apples add brightness. Also, measure the water carefully. You need enough liquid to cook the apples, but excess water creates thin cider. Keep the simmer low after the first hour, since aggressive boiling can reduce the liquid too quickly. Taste the strained cider before serving. Apples vary in sweetness, so you may wish to add another spoonful of brown sugar, maple syrup, or honey while the cider remains warm.
Common Mistakes to Avoid
Do not peel or core the apples before cooking because those parts contribute color, aroma, and apple flavor. However, always discard the cooked solids after straining. Avoid filling the stockpot to the rim because the mixture can rise and splash as it boils. Additionally, do not skip the second straining. Ground allspice and softened apple pulp can settle at the bottom of each mug unless you filter the cider carefully. When pressing the fruit, use gentle pressure rather than squeezing the cheesecloth hard. Heavy pressure pushes cloudy pulp into the drink. Finally, do not store warm cider in a sealed container. Let it cool first, and then refrigerate it promptly in a clean pitcher or jar.
Pro Tips for Better Flavor
Combine at least one tart apple with two or three sweeter varieties for a rounder apple flavor. Cinnamon sticks create a cleaner finish than ground cinnamon, although either option works. For an extra festive note, add strips of orange peel, whole cloves, fresh ginger, or a pinch of nutmeg during the simmer. Remove citrus peel before pressing the apples because too much pressure can release bitterness from the white pith. You can also add a small splash of vanilla after straining. If the finished cider tastes weak, return it to the clean pot and simmer it uncovered for 10 to 20 minutes. This step concentrates the fruit flavor without adding more sugar.
Serving and Storage
Fresh apple cider suits casual evenings, weekend brunches, holiday parties, and family dinners. Set out garnishes so each guest can finish a mug differently. Cinnamon sticks, thin apple slices, orange rounds, and star anise create an attractive presentation. For a large gathering, prepare the cider earlier in the day, strain it, and keep it warm in a slow cooker on the lowest setting. Stir it occasionally so the heat stays even. For cold service, pour the chilled cider over ice and add a thin apple fan or orange wedge. Since the drink contains no alcohol, it also makes a family-friendly alternative to mulled wine or holiday punch.
How to Serve Homemade Apple Cider
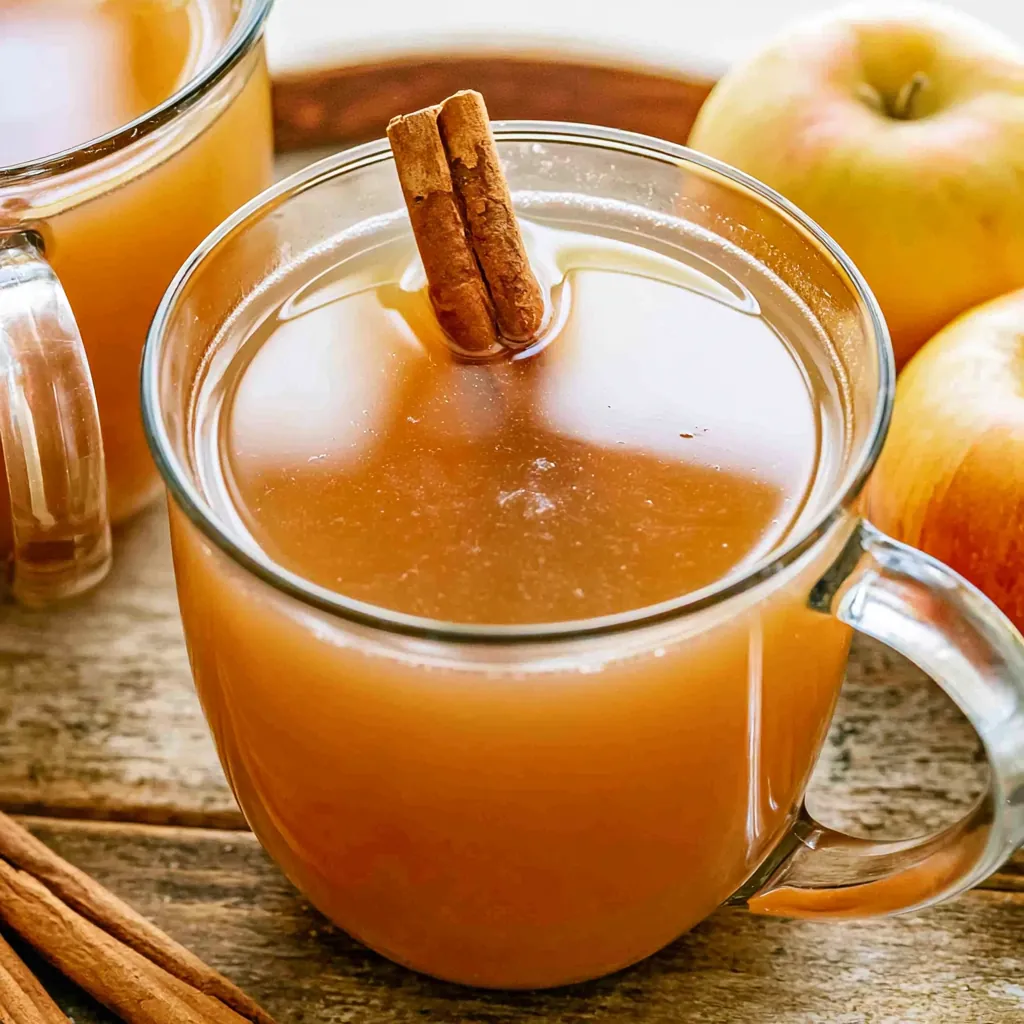
Pour warm cider into heat-safe glass mugs and serve it at a comfortable sipping temperature. Add one cinnamon stick to each mug for aroma, or place a thin apple slice along the rim. For dessert, pair the cider with apple pie, pumpkin bread, cinnamon cookies, doughnuts, or a slice of spice cake. It also complements savory holiday foods because its sweet-tart flavor balances roasted turkey, glazed ham, stuffing, and rich casseroles. When serving it cold, chill the cider for several hours and pour it into tall glasses over fresh ice. A splash of sparkling water can turn it into a lighter, bubbly drink for brunch or afternoon gatherings.
How to Store Leftovers
Let leftover cider cool to room temperature, then transfer it to an airtight glass jar, bottle, or covered pitcher. Refrigerate it for up to 5 days. Natural sediment may collect at the bottom, especially when you use ground spices, so shake or stir the cider before serving. To reheat it, pour the desired amount into a small saucepan and warm it over low heat until steaming. Do not boil it, since boiling can dull the fresh apple taste. You may also warm individual servings in the microwave in 30-second intervals. For longer storage, freeze cooled cider in freezer-safe containers for up to 3 months, leaving space at the top for expansion.
Conclusion
Homemade Apple Cider turns fresh apples and pantry spices into a fragrant drink that feels perfect for crisp weather and holiday celebrations. Although the recipe simmers for several hours, the preparation stays simple, and the stovetop handles most of the work. The result tastes fresh, warmly spiced, and far more personal than a bottle from the store. Gather a mixture of your favorite apples, bring out your largest stockpot, and make a batch for your next cozy evening. Serve it hot beside a plate of cookies, or chill it for a bright apple drink that everyone can enjoy.
Discover more delicious recipes by following me on Facebook and Pinterest.
Frequently Asked Questions
What Are the Best Apples for Homemade Apple Cider?
Use a combination of sweet and tart apples rather than relying on one variety. Honeycrisp, Gala, Fuji, and Golden Delicious contribute sweetness, while Granny Smith and Pink Lady add crisp acidity. McIntosh apples soften quickly and provide a classic orchard flavor. A practical blend might include four sweet apples, three mildly tart apples, and three sharply tart apples. However, you can work with the varieties available in your area. Avoid apples with mold, fermented spots, or deep bruises because damaged fruit can give the cider an unpleasant taste.
Can I Make Homemade Apple Cider Without Brown Sugar?
Yes, you can leave out the brown sugar or replace it with maple syrup, honey, granulated sugar, or your preferred sweetener. The natural sweetness will depend on the apples you select, so taste the cider after straining before adding anything else. When using mostly sweet apples, you may not need extra sugar. When using several tart apples, stir sweetener into the warm cider one tablespoon at a time. This gradual approach prevents an overly sweet drink and keeps the fresh apple flavor at the center of the recipe.
Why Is My Homemade Apple Cider Cloudy?
Fresh cider often looks slightly cloudy because cooked apples release pectin, fine pulp, and natural starch. This appearance does not mean the cider has spoiled. For a clearer drink, let the mixture cool slightly and strain it twice through clean cheesecloth. Avoid pressing the solids too firmly because that action forces more pulp through the cloth. You can also refrigerate the cider, let the sediment settle overnight, and carefully pour the clear liquid into another container. A small amount of cloudiness remains normal and gives homemade cider its rustic character.

Homemade Apple Cider
- Total Time: 3 hours 15 minutes
- Yield: 10 servings 1x
- Diet: Vegan
Description
Homemade Apple Cider is a crisp, warmly spiced nonalcoholic drink made from fresh apples, brown sugar, cinnamon, and allspice. Serve it hot for a cozy fall treat or chill it for a refreshing seasonal beverage.
Ingredients
- 10 medium apples, quartered
- 1/2 cup packed light brown sugar, about 100 grams
- 4 cinnamon sticks, or 2 teaspoons ground cinnamon
- 1 tablespoon ground allspice
- Water, enough to cover the submerged apples by 2 inches
Instructions
- Rinse and dry the apples, then cut each apple into quarters. Leave the peels, seeds, stems, and cores in place.
- Place the quartered apples in a large 8-quart stockpot. Press them down gently and add enough water to cover the submerged apples by about 2 inches.
- Add the brown sugar, cinnamon sticks, and ground allspice. Stir until the sugar begins to dissolve.
- Bring the mixture to a boil over medium-high heat. Boil uncovered for 1 hour, stirring occasionally.
- Cover the pot, reduce the heat to low, and simmer for 2 additional hours.
- Remove the pot from the heat and let the mixture cool for 15 to 20 minutes.
- Strain the mixture through cheesecloth or a fine-mesh strainer into a large bowl. Press the solids gently to release the liquid.
- Discard the solids and strain the cider a second time for a smoother texture.
- Taste and adjust the sweetness if needed. Serve warm, or cool and refrigerate before serving cold.
Notes
- Use a mixture of sweet and tart apples for the fullest flavor.
- Cinnamon sticks create less sediment than ground cinnamon.
- Do not press the cooked solids too firmly, or the cider may become cloudy.
- If the cider tastes weak, simmer the strained liquid uncovered for 10 to 20 minutes.
- Store cooled cider in an airtight container in the refrigerator for up to 5 days.
- Estimated nutrition values are calculated per 1-cup serving.
- Prep Time: 15 minutes
- Cook Time: 3 hours
- Category: Drinks
- Method: Stovetop
- Cuisine: American
Nutrition
- Serving Size: 1 cup
- Calories: 130
- Sugar: 27
- Sodium: 5
- Fat: 0
- Saturated Fat: 0
- Unsaturated Fat: 0
- Trans Fat: 0
- Carbohydrates: 33
- Fiber: 1
- Protein: 0
- Cholesterol: 0