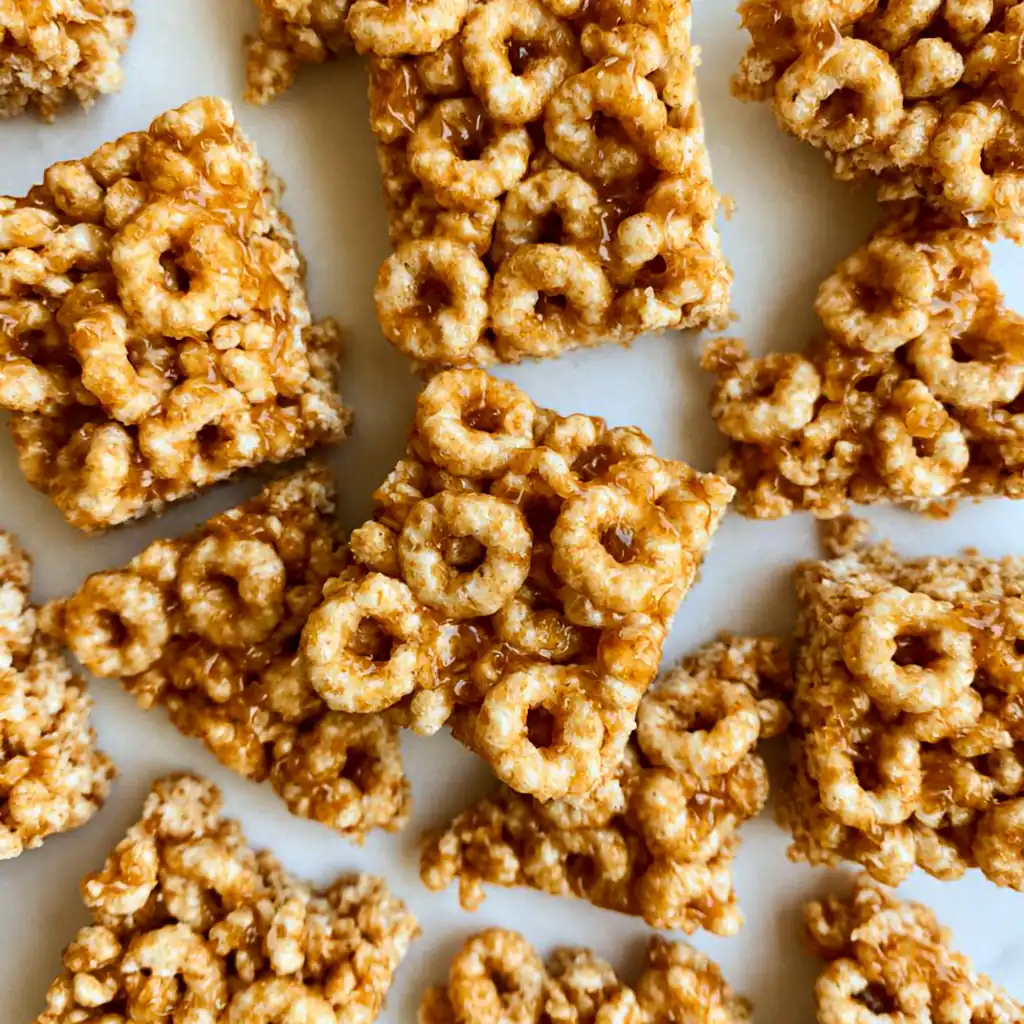
No-Bake Cheerio Peanut Butter Bars make snack time simple when you need something quick, chewy, and familiar. This recipe uses peanut butter, honey, and plain Cheerios, so it comes together with pantry staples and no oven time. The bars taste sweet and nutty, yet they still feel light enough for breakfast, lunch boxes, or an afternoon bite. Because the mixture only needs a quick warm-up and a short chill, kids can help measure, pour, stir, and press everything into the pan. Once set, No-Bake Cheerio Peanut Butter Bars slice neatly and keep well in the fridge for busy weekdays. Plus, the slices stack neatly for quick grabbing.
Story
I started making No-Bake Cheerio Peanut Butter Bars on mornings when everyone wanted breakfast before I had a chance to think. Instead of reaching for another packaged snack, I warmed peanut butter with honey, stirred in cereal, and pressed the mixture into a small pan. The result tasted like a chewy cereal treat with a peanut butter finish, and the kids loved helping with every step. No-Bake Cheerio Peanut Butter Bars quickly became a regular kitchen project because the recipe feels safe, simple, and hands-on. These Peanut Butter Cheerio Bars also work well when you need an Easy Toddler Snack, as long as you remember that honey should never go to children under 12 months old. Since No-Bake Cheerio Peanut Butter Bars need only three core ingredients, older kids can learn measuring and stirring while adults handle the warm honey mixture. I also like that the bars do not require flour, eggs, or butter, so cleanup stays light and the process feels calm on busy days. For anyone who likes make-ahead snacks, No-Bake Cheerio Peanut Butter Bars offer a practical way to turn cereal into chewy bars without baking.
Ingredients
- 1/2 cup creamy peanut butter
- 1/2 cup honey
- 4 cups plain Cheerios cereal
Step-by-Step Instructions
These No-Bake Cheerio Peanut Butter Bars come together best when you prep the pan before you warm the mixture. Line an 8 x 8-inch or 9 x 9-inch square pan with parchment paper, leaving extra paper on two sides so you can lift the bars out later. Also, measure the cereal before you start because the peanut butter and honey mixture coats best while warm and fluid. This small setup step keeps the process quick and helps children follow along without waiting.
Preparing the Ingredients
First, measure the peanut butter and honey into a microwave-safe bowl. Then pour the plain Cheerios into a large mixing bowl with enough room for stirring. Next, line your pan with parchment paper and lightly press the paper into the corners. If your peanut butter contains no salt, you may add a tiny pinch of salt for balance, although the basic recipe stays true to 3 Ingredient Cheerio Bars without it. Finally, set a spatula nearby so you can scrape the warm mixture quickly and coat the cereal before it thickens.
Cooking Instructions
Microwave the peanut butter and honey for about 30 seconds, then stir until smooth and glossy. If the mixture still feels thick, warm it in 10-second bursts and stir between each burst. You can also warm it in a small saucepan over low heat, stirring often. Pour the warm peanut butter mixture over the Cheerios, then fold gently until every piece of cereal gets coated. Transfer the mixture to the prepared pan. Next, press it firmly into an even layer with a spatula or clean hands. Chill the pan for at least 30 minutes, or until firm. Lift the slab out with the parchment paper, then cut it into 12 bars.
Tips for Perfect Results
For the best texture, treat this recipe like a press-and-chill cereal bar rather than a baked dessert. The bars need firm pressure in the pan so the cereal sticks together as it sets. Also, the honey and peanut butter should look smooth before you add them to the cereal. When the coating spreads evenly, No-Bake Cheerio Peanut Butter Bars hold their shape better and slice with fewer crumbs. A lined pan also helps because you can lift the full slab out instead of digging around the edges with a knife.
Common Mistakes to Avoid
Avoid overheating the peanut butter and honey because the mixture can become too hot for kids to handle and may turn overly sticky. Also, do not stir the Cheerios too aggressively, or the cereal can crush and make dense bars. Another common mistake involves loose packing in the pan. Press the mixture firmly from edge to edge so the bars set into clean squares. Finally, do not skip the chill time. The bars may look ready right away, but they need time in the fridge to firm up before slicing.
Pro Tips for Better Flavor
Use creamy peanut butter for the smoothest coating, or choose a natural peanut butter if you like a deeper roasted flavor. Stir natural peanut butter well before measuring so the oil blends back in. For a slightly richer bite, add a small splash of vanilla to the warm peanut butter and honey mixture. You can also sprinkle mini chocolate chips over the pressed bars while they are still tacky, then gently press them into the top. However, the classic three-ingredient version keeps the snack quick, simple, and lunch-box friendly.
Serving and Storage
Serve these bars cold from the fridge for the firmest texture, or let them sit at room temperature for a few minutes if you prefer a softer chew. No-Bake Cheerio Peanut Butter Bars fit easily into breakfast plates, snack trays, and lunch containers. They also make handy After School Snack Bars because they taste sweet enough to feel fun but still use familiar pantry ingredients. If you plan to serve them at a playdate, cut them small and keep a few chilled until snack time.
How to Serve
Cut the chilled slab into 12 bars for standard snack portions. For toddlers who can safely eat honey, cut the bars into small squares or thin strips that fit their bite size. Pair them with banana slices, apple wedges, yogurt, or a glass of milk for a more filling snack. For a breakfast option, serve one bar with fruit and a hard-boiled egg. If you pack them in lunch boxes, keep them chilled with an ice pack so they stay firm and neat.
How to Store Leftovers
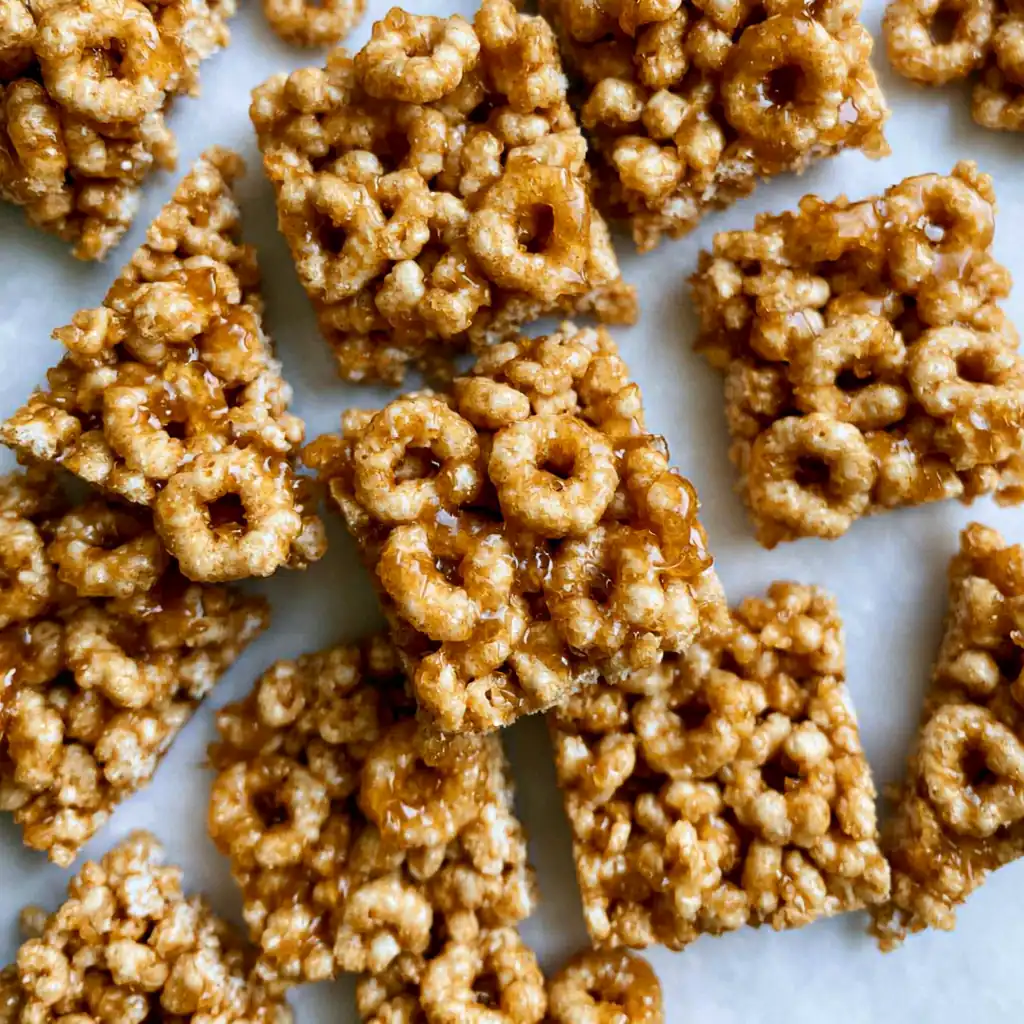
Store leftover bars in an airtight container in the refrigerator for up to 1 week. Place parchment paper between layers so the bars do not stick together. For longer storage, freeze the bars in a freezer-safe container for up to 2 months. Thaw them in the fridge overnight or let one bar sit at room temperature for 10 to 15 minutes before serving. These bars do not need reheating, and they taste best when cool, chewy, and firm.
Conclusion
No-Bake Cheerio Peanut Butter Bars prove that a good homemade snack does not need many ingredients or much time. With peanut butter, honey, and Cheerios, you can make chewy cereal bars that kids can help prepare and adults can enjoy too. Keep a batch in the fridge for breakfast, lunch boxes, or after-school hunger, and you will have a simple snack ready whenever the day gets busy. No-Bake Cheerio Peanut Butter Bars are also easy to adjust for pan size, since a smaller pan creates thicker bars and a larger pan makes thinner bars that chill faster.
Discover more delicious recipes by following me on Facebook and Pinterest.
Frequently Asked Questions
Can I make No-Bake Cheerio Peanut Butter Bars without honey?
Yes, you can use maple syrup or brown rice syrup instead of honey, but the bars may set a little differently. Honey gives the mixture a sticky texture that helps bind the cereal, so thinner syrups may create softer bars. If you use maple syrup, chill the bars longer and press the mixture very firmly into the pan before slicing.
Are these bars safe for toddlers?
These bars can work for toddlers over 12 months old, but they contain honey, so do not serve them to babies under 1 year old. For toddler portions, cut the bars into small pieces and watch for age-appropriate chewing. Also, choose smooth peanut butter and plain Cheerios for the easiest texture.
Can I use crunchy peanut butter instead of creamy?
Yes, crunchy peanut butter works if your family likes extra texture. However, creamy peanut butter coats the cereal more evenly and helps the bars hold together with less crumbling. If you use crunchy peanut butter, press the mixture firmly into the pan and chill it well before cutting.
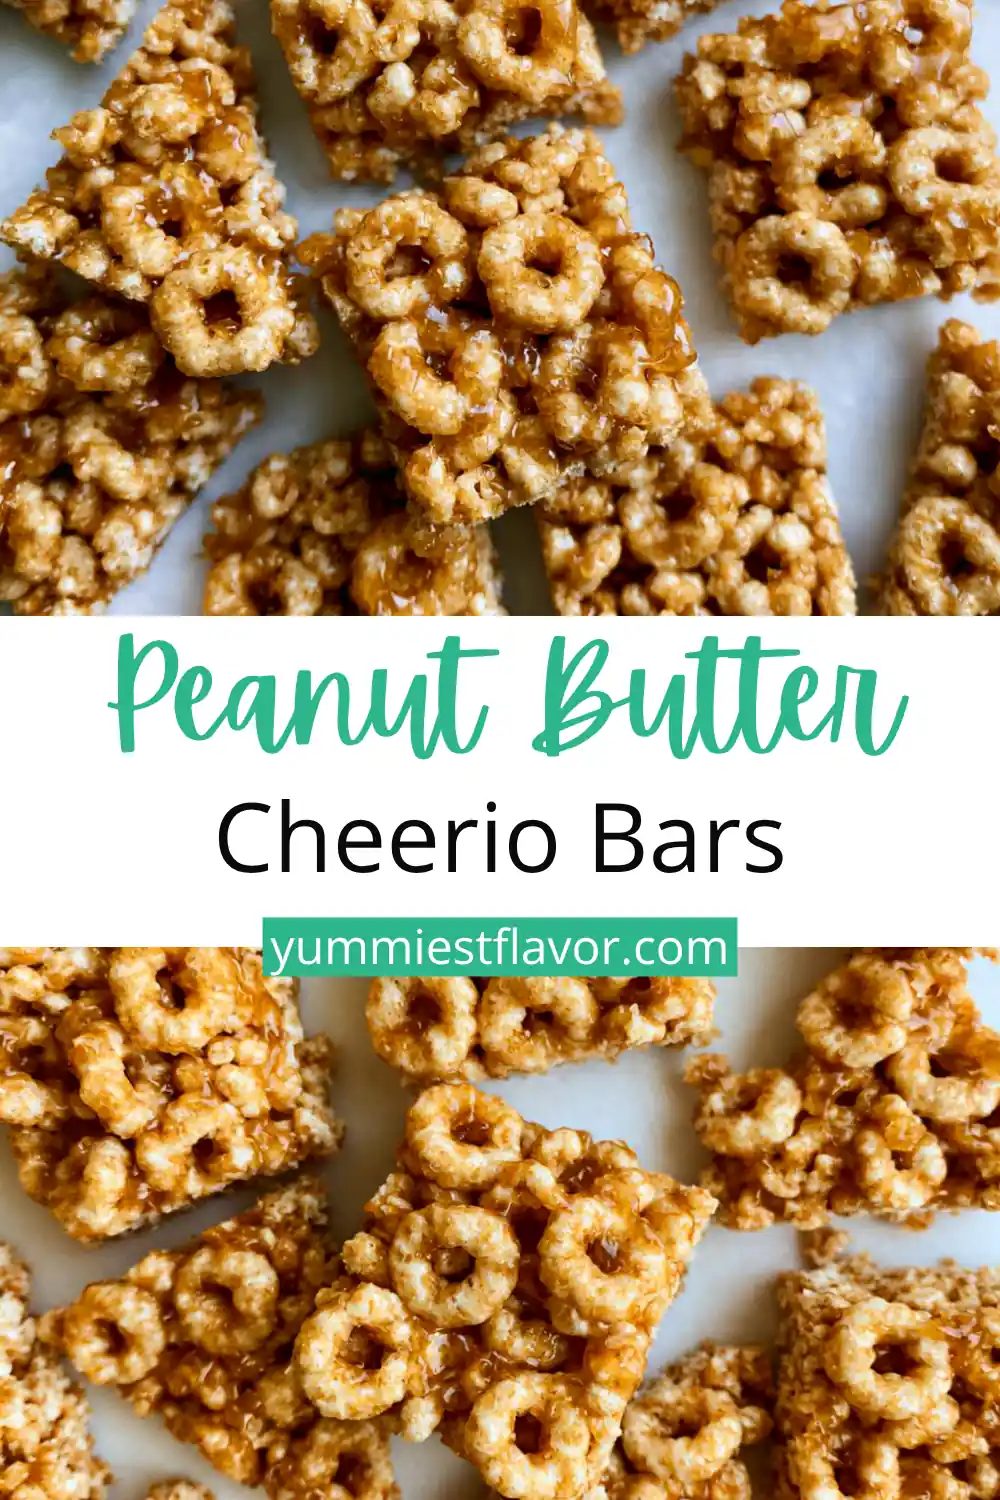
No-Bake Cheerio Peanut Butter Bars
- Total Time: 40 minutes
- Yield: 12 bars 1x
- Diet: Vegetarian
Description
Chewy, kid-friendly No-Bake Cheerio Peanut Butter Bars made with peanut butter, honey, and plain Cheerios. This easy snack chills firm, slices neatly, and works well for breakfast, lunch boxes, or after-school snacking.
Ingredients
- 1/2 cup creamy peanut butter
- 1/2 cup honey
- 4 cups plain Cheerios cereal
Instructions
- Line an 8 x 8-inch or 9 x 9-inch square pan with parchment paper, leaving extra paper on two sides for lifting.
- Measure the peanut butter and honey into a microwave-safe bowl.
- Add the Cheerios to a large mixing bowl.
- Microwave the peanut butter and honey for about 30 seconds, then stir until smooth and glossy.
- If needed, microwave in 10-second bursts, stirring after each burst, until the mixture turns fluid.
- Pour the warm peanut butter mixture over the Cheerios.
- Fold gently until all the cereal gets evenly coated.
- Transfer the mixture to the prepared pan.
- Press firmly into an even layer using a spatula or clean hands.
- Refrigerate for at least 30 minutes, or until firm.
- Lift the slab from the pan using the parchment paper.
- Slice into 12 bars and serve chilled.
Notes
- Do not serve honey to children under 12 months old.
- Use creamy peanut butter for the smoothest texture.
- Press the mixture firmly into the pan so the bars hold together.
- Store bars in an airtight container in the refrigerator for up to 1 week.
- Freeze bars for up to 2 months and thaw in the refrigerator before serving.
- Prep Time: 10 minutes
- Category: Snack
- Method: No-Bake
- Cuisine: American
Nutrition
- Serving Size: 1 bar
- Calories: 139
- Sugar: 13
- Sodium: 72
- Fat: 5
- Saturated Fat: 1
- Unsaturated Fat: 4
- Trans Fat: 0
- Carbohydrates: 20
- Fiber: 1
- Protein: 3
- Cholesterol: 0