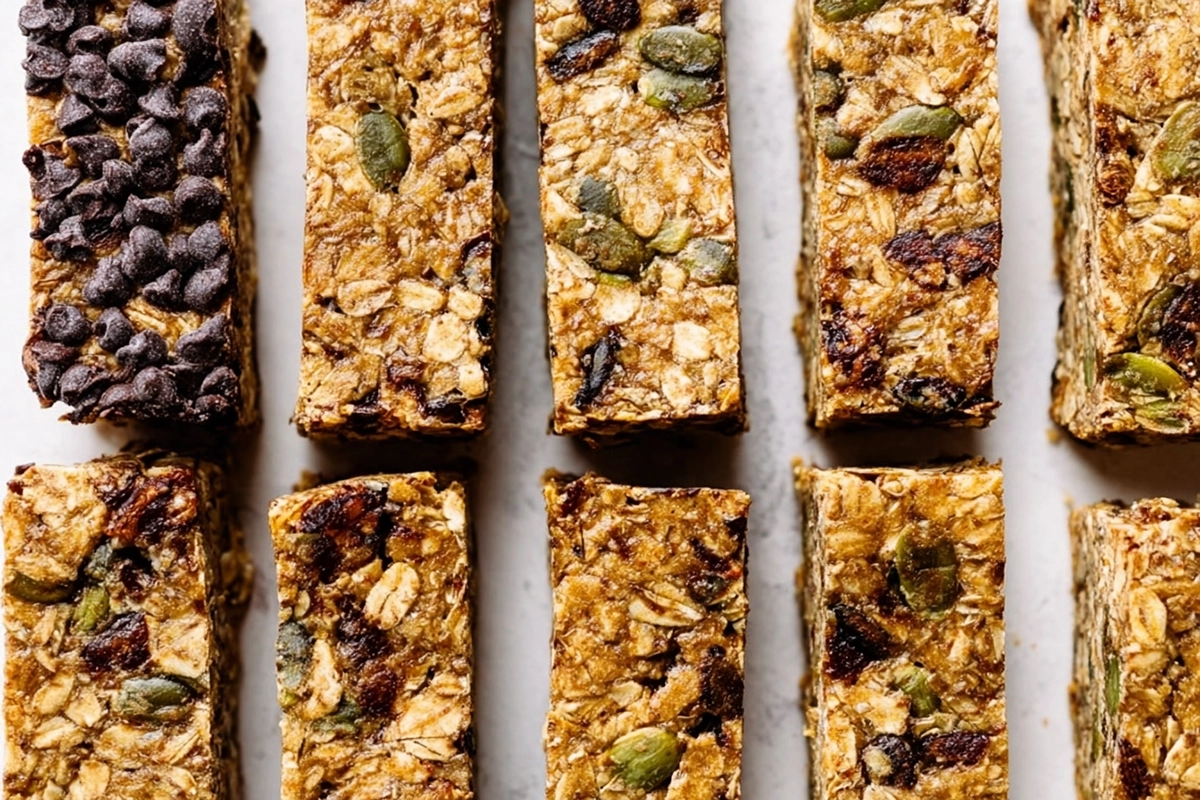
When you’re reaching for a snack that hits the sweet spot between indulgent and nourishing, these homemade granola bars come to the rescue. Chewy, lightly sweet, and dotted with mini chocolate chips, they’re everything you want in a grab-and-go treat, with none of the mystery ingredients you can’t pronounce.
And yes, this healthy snack is totally kid-approved. They’ll love the texture; you’ll love that they’re made with real ingredients and no corn syrup in sight. These chewy bars do it all, whether it’s school lunchboxes, afternoon coffee breaks, or post-workout fuel.
Why You’ll Love These Homemade Granola Bars
- Just 7 pantry-friendly ingredients.
- No baking required—just heat, mix, and set.
- A chewy chocolate chip bar that’s satisfying and portable.
- No preservatives, no corn syrup, and no fuss.
Ingredients
- 2 cups (180 g) quick-cooking oats
- 1 cup (25 g) crispy rice cereal
- 1/3 cup (67 g) packed light brown sugar
- 1/4 cup (60 ml) honey
- 4 tablespoons (56 g) unsalted butter
- 1 teaspoon (5 ml) vanilla extract
- 3 tablespoons (30 g) mini chocolate chips
How to Make Chewy Chocolate Chip Bars
- Lightly grease an 8-inch square baking pan and line it with parchment paper. Set aside.
- In a large mixing bowl, combine oats and rice cereal.
- Heat brown sugar, honey, and butter over medium-high heat in a small saucepan. Stir until everything is melted and bring to a light boil.
- Reduce the heat and simmer for 2 minutes until the sugar is fully dissolved.
- Remove from the heat and stir in the vanilla extract.
- Immediately pour the hot syrup over the oats and cereal mixture. Stir well until evenly coated.
- Transfer the mixture to the prepared pan and press down firmly to compact.
- Sprinkle mini chocolate chips over the top and press gently so they stick.
- Let cool at room temperature for at least 2 hours before slicing into 10 bars.
Tips for Perfect Healthy Snack Bars
- Press the mixture down really well so the bars hold together—use a flat spatula or the bottom of a glass.
- Want a little extra crunch? Add chopped almonds, seeds, or coconut flakes.
- Store at room temperature in an airtight container with parchment between layers.
- Keep them out of direct sunlight to avoid melty chips.
Snack Time, Solved
They also travel well, making them perfect for lunchboxes, road trips, or hiking backpacks. Bonus: no sticky fingers or crumbs all over the car.
What to Serve with Homemade Granola Bars
These are a great standalone snack, but they also pair perfectly with a piece of fruit or a yogurt cup for a more filling combo. Toss one in your bag with a bottle of water for a smart, energizing snack on the go.
And yes, they’re totally lunchbox-approved (just be sure your school’s OK with chocolate chips).
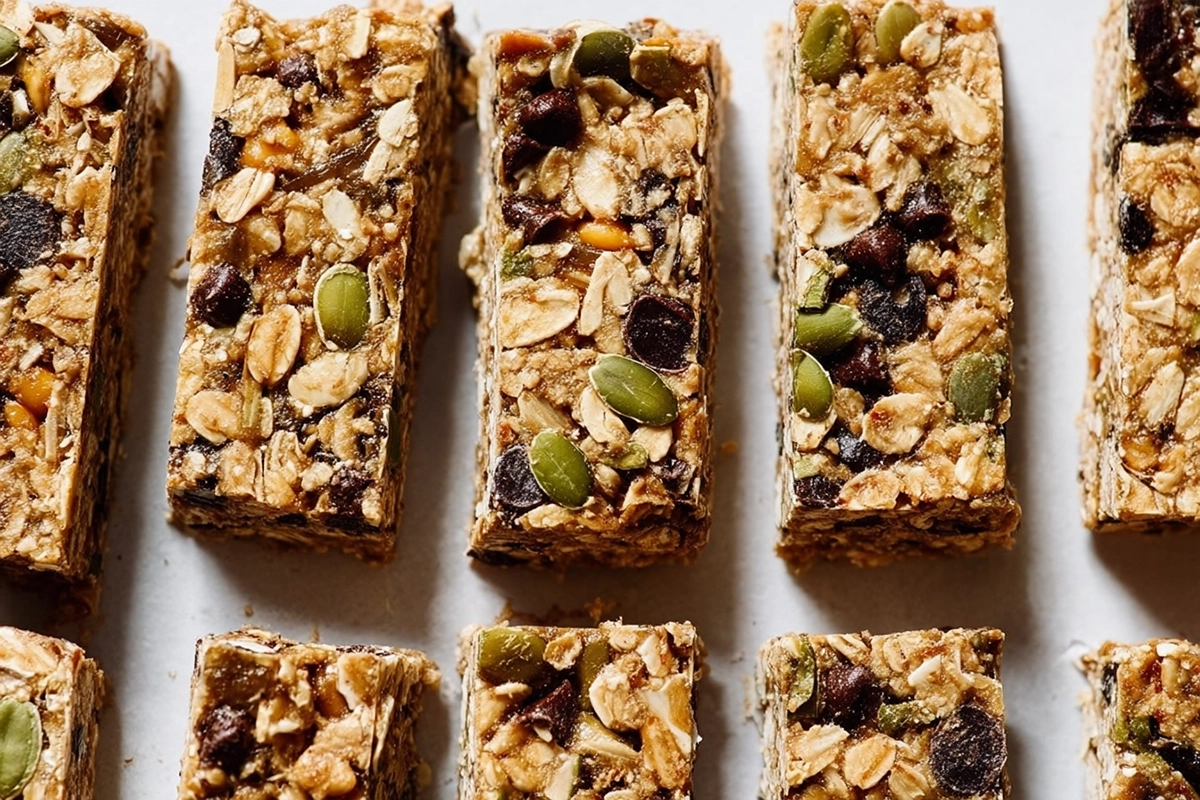
How to Store These No-Corn-Syrup Treats
Once cooled and sliced, store your bars in an airtight container at room temperature for up to 5 days. If it’s warm out, consider refrigerating them to keep the chocolate firm.
You can also freeze them: wrap each bar in wax paper or parchment, then store in a zip-top bag. They’ll keep in the freezer for up to 2 months and thaw quickly.
FAQs About Homemade Granola Bars
Can I use rolled oats instead of quick oats?
Yes, but the texture will be firmer. Quick oats help the bars hold together better.
Can I cut back on the sugar?
You can reduce the brown sugar slightly, though it may affect binding.
What else can I add to these?
Try dried fruit, chopped nuts, sunflower seeds, or a sprinkle of cinnamon.
Are they gluten-free?
They can be if you use certified gluten-free oats and cereal.
A Sweet, Satisfying Treat You’ll Feel Good About
These homemade granola bars are the kind of treat that disappears quickly—and for good reason. Easy, chewy, chocolatey, and made with simple ingredients, they’re proof that homemade snacks can be just as convenient (and way more delicious) than anything store-bought. Time to make a batch!
Print
Homemade Granola Bars: The Chewy, Chocolatey, No-Corn-Syrup Snack We All Need
- Total Time: 2 hours 15 minutes (including set time)
- Yield: 10 bars 1x
Description
These chewy Homemade Granola Bars are the perfect snack for kids and adults alike. Made with just 7 simple ingredients—no corn syrup, no baking required—these bars are naturally sweetened, packed with oats and crispy rice cereal, and finished with mini chocolate chips. Ideal for lunchboxes, road trips, or afternoon energy boosts.
Ingredients
-
2 cups (180 g) quick-cooking oats
-
1 cup (25 g) crispy rice cereal
-
1/3 cup (67 g) packed light brown sugar
-
1/4 cup (60 ml) honey
-
4 tablespoons (56 g) unsalted butter
-
1 teaspoon (5 ml) vanilla extract
-
3 tablespoons (30 g) mini chocolate chips
Instructions
-
Lightly grease and line an 8-inch square baking pan with parchment paper.
-
Combine oats and crispy rice cereal in a large mixing bowl.
-
In a saucepan, heat brown sugar, honey, and butter over medium-high heat until melted.
-
Bring mixture to a light boil, then reduce heat and simmer for 2 minutes.
-
Remove from heat and stir in vanilla extract.
-
Pour hot mixture over oat mixture and stir until evenly coated.
-
Press mixture firmly into the prepared pan.
-
Sprinkle mini chocolate chips over the top and press gently.
-
Let cool at room temperature for 2 hours before cutting into 10 bars.
Notes
Press mixture firmly to ensure bars hold together.
Customize with nuts, seeds, dried fruit, or coconut.
Store in an airtight container at room temp for up to 5 days.
Refrigerate in warm climates or freeze for longer storage (up to 2 months).
Use gluten-free oats and cereal for a gluten-free version.
- Prep Time: 10 minutes
- Cooling Time: 2 hours
- Cook Time: 5 minutes
- Category: Snack
- Method: No-bake / Stovetop
- Cuisine: American